Blkjhgac!nsaf3
Do you have a cluttered room at home or at work? Are you trying to figure out the best way to get things in order?
In this article, we’ll walk you through a step-by-step process for organizing and cleaning up your room.
Clean up the garbage.
If you’re going to spend time cleaning a cluttered room, you should make sure you’re working in a garbage-free space. So take a stroll around the room with a garbage bag or trash bin. Empty or used wrappers, cans, bottles, boxes, pieces of paper, lids, and stained objects should all be thrown away.
It’s a good idea to collect any dirty dishes, bowls, cups, mugs, and utensils and soak them in the kitchen sink or run them through the dishwasher right away.
Create a workstation for yourself.
It can be difficult to arrange a cluttered space when there isn’t a clean, flat surface on which to sort and organize materials.
If the space is particularly cluttered, a folding tray or card table may be temporarily set up inside or outside the room. You may use a clear table, desk, or freshly made bed to position and go through products that will make things a little more manageable.
Chose a method of organization.
It’s time to get things sorted now that you’ve set up a proper work space. Choose one of the following organizing methods:
Set aside some time to clean up a specific area.
Select a tiny, enclosed space in the room. Clear the top of a desk or other flat surface first, then work in a corner of the room, deal with objects on the floor near a wardrobe, or any other place that comes to mind. The idea is that once you’ve cleaned up this place, you can move on to other parts of the room.
Select specific materials to organize.
When organizing the most popular item in a room, you can’t go wrong. If your bedroom is cluttered with clothing, for example, you could prioritize picking up all of the clothes first, then all of the other things in the room. Before moving on to the next set of materials, finish the first set.

Stick to the organization’s guidelines.
Choose a few things.
Pick the things you want to arrange. The good news is that you already did this by choosing one of the organizing strategies mentioned above and then narrowing your choices down to a particular area or collection of materials (see above). Make sure you have all of the supplies you’ll need for the next rule at your workstation…
Sort your belongings.
This is a straightforward method. You’re going to pair similar pieces together. You can be as general or as specific as you want: pens with pens, office supplies with office supplies, papers with papers, bedding with bedding, and so on. Separate any things that belong in another room of the house or that need to be thrown away entirely.
All should be stored.
You already have a clear idea of where things go, such as clothes in a closet and books in a bookcase. If that’s the case, go ahead and return it to its proper place. You don’t have a designated area in your room for materials? Consider grouping materials by purpose and then storing them in designated areas within a room. You may keep office supplies on or inside a desk, clothes and toiletries in a wardrobe or on a dresser, and bedding in a linen closet or drawers, among other things.
Here are a few more pointers to think about:
Try cleaning the floor first.
No matter what you’re planning, safety comes first. If the floor is covered in stuff, you should generally clear that up first so you don’t trip, slip, or fall on something. Create a route from the room’s entrance to your work station so you can get in and out easily.
Start with the top layers.
Reaching under huge piles or stacks of objects and dislodging them is not a good idea. It’s best to start with the things at the top of a pile and work your way down to the flat surface. You don’t want to set off an explosion of materials by mistake!
One job should be done at a time.
When you’ve settled on an organizational strategy and the things you’ll focus on, stick to it until the job is finished. Stick with one task at a time; you’ll see more improvement (i.e. a cleaner and more organized room) if you do so.
Do a final clean-up.
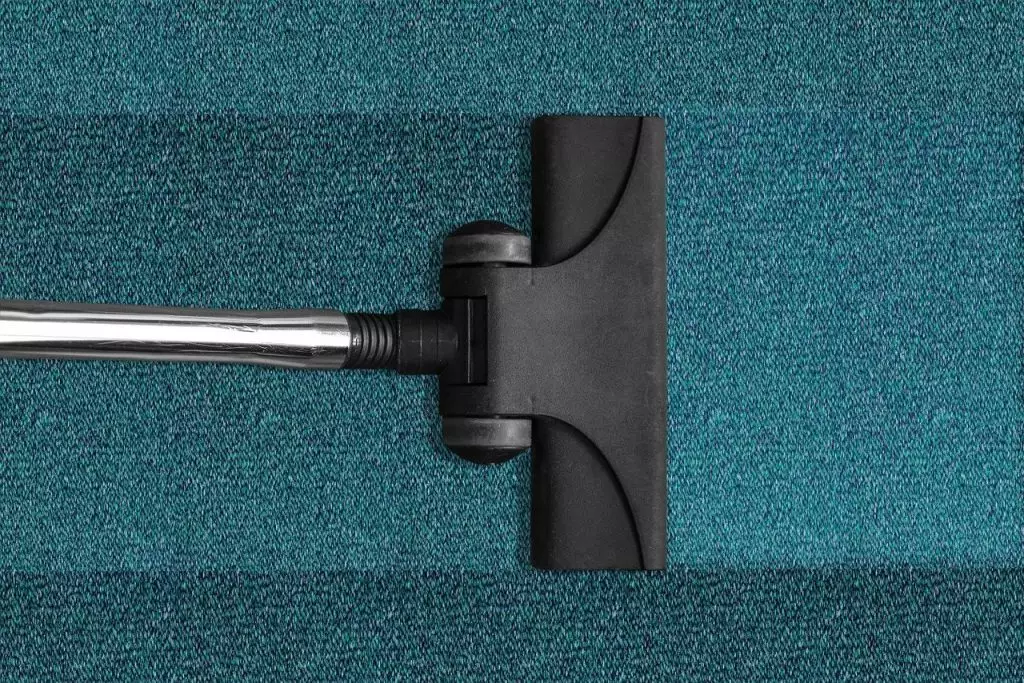
Finally, tidy up the room after your organizing session. Return any furniture that has been relocated back to its original position, including your folding tray or card table. You’re done with a light dusting, spot cleaning or wiping down walls, mopping, vacuuming, and/or sweeping the kitchen!